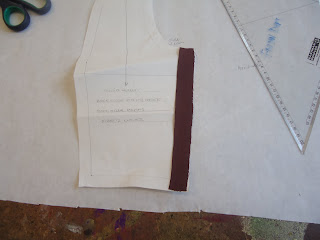
Creating my close fitted bodice block

- I traced the close fitting bodice block which was my first draft.
 - I removed the darts from the front and back panels.- This meant the front panel was divided into two sections.
- I then added 1.5 seam allowance to each pattern piece.

( picture for lay plan )
 I joined the two faces together.
This is a photograph of the toile.
 It is perfect on the front panels however the sidepanels are too big so I will need to reduce them.
The sleeves are too wide so I will need to reduce them. Shown on picture (pins mark this)

These are the changes I have made to the back. (pictures shows where back has been adapted)


 On the front and back bodice I have enlarged the neck opening. I then tried the neck line on the mannequin. I needed to alter it again slightly.


 On the front and back bodice I have enlarged the neck opening. I then tried the neck line on the mannequin. I needed to alter it again slightly.
(picture of neck)


Here is my finished Toile, netting attached to toile shows the technique I am going to be using to make the skirt puff out (giving the effect of an under skirt)

No comments:
Post a Comment